error_outline
This article is for those building a membership site using WordPress and PilotPress. If you're using Ontraport Membership Sites, click here. If you're getting started and don't know which to choose, this article will help.
Once you’ve created your WordPress membership site, you’ll want to provide your new members with their login credentials and send emails that keep them engaged. With Ontraport, you can automate this process by creating the map outlined in this article.
Add members to your WordPress membership site
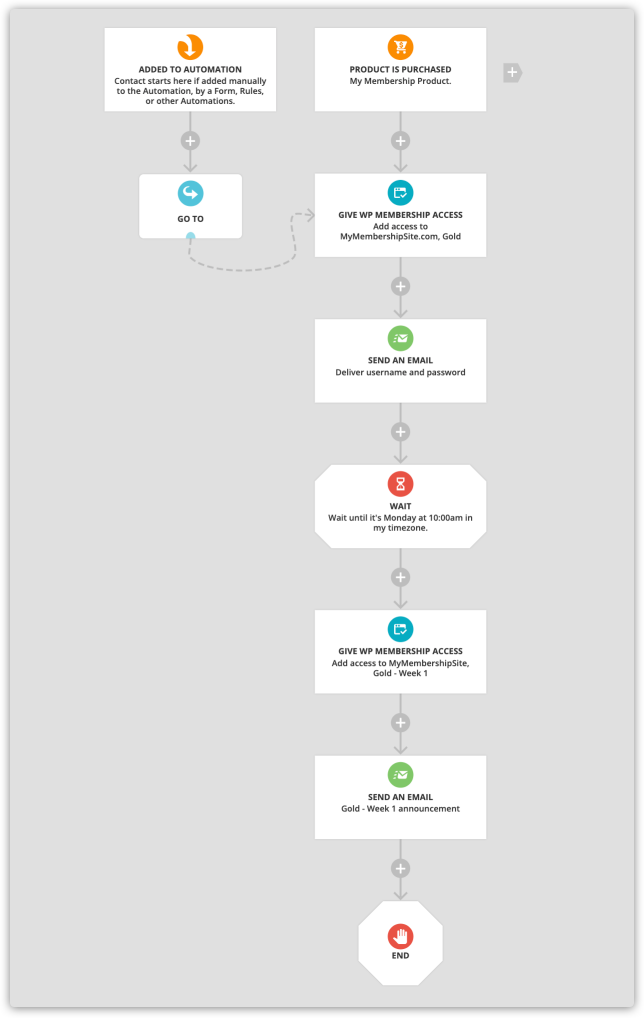
When you create a WordPress membership site, you’ll need a way to automatically grant WordPress membership access when your membership product is purchased, then deliver the login credentials with an email.
- Go to
 →
→ .png) .
. - Add a “Purchases product” trigger and select your membership product or click + New Product to create one.
- Adjust your trigger settings.
- Click
.png) .
.
- Click
 under your trigger and select
  , then edit the settings panel.
- Select your membership site and membership level from the “Add access to” dropdown.
- Click
.png) .
.
- Click under your update membership access element and click
 .
.
- Be sure that your email contains the WordPress website merge fields for username, password, and the login page URL.
- Complete your map and save and publish your automation map.
Drip content to your members
You can use your membership levels to create evergreen drip automation by protecting your content on WordPress based on membership levels and slowly releasing it to your members based on how long they’ve been subscribed. Here’s how:
- Follow steps 1-4 above to add members to your WordPress membership site.
- Click under your “Send an email” element, click
 , then customize your settings.
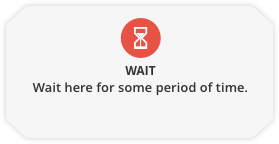
- Choose how long you’d like your members to wait before releasing new content by selecting “Some time passes” from the “Wait here until” dropdown.
- If you’d like to release content weekly, you can select “The day of the week is.”
- Click .
- Click under your “Wait” element → click → customize your settings.
- Select your membership site and new membership level from the “Add access to” dropdown.
- Click .
- Click under your “Update membership access” element and click .
- Edit your message to inform your members they have access to new content.
- Repeat steps 2-4 as needed.
highlight
