Before sending your email or adding it to your automation, you’ll use email settings to add your email subject line, determine which email address your message will be sent from, set up email tracking and more. Here are descriptions of what each of the email settings mean so you can ensure you’ve got your messages set up correctly.
Email Settings
.png)
Send from name: Select the “email from” name of the user that you want the email to appear to come from, such as “Joe at Rainbow Sales” or “The Rainbow Sales Team.” When you choose the option “Custom,” you can add a custom “from” name and “reply to” email address — instead of using your user information.
Send from email: This is what appears as the “from” email address in the message.
Send email to: (Only available if you have Deals, Companies or custom objects enabled)Select which related email address you want to send your message to. For example, if you’re sending an email from a company record, you can select the email of a specific contact at the company, or select all contacts that work for the company.
Email subject: Add the subject line of your message; this is what clients will see before they open the email.
Preheader: This is the text that shows after the subject line in your contacts’ inboxes, and it gives your readers more information about what your email is about.
Transactional Mail: Transactional email is used for non-marketing emails such as confirmations and purchase receipts, messages about changes to your privacy policy, or to send login credentials to a purchased membership product. These emails are sent to contacts even if they have unsubscribed from your marketing emails. Check this box if your email falls into the transactional category.
Add tracking to the links in this email: Checking this box adds UTM tracking parameters to each link in the email (available to Ontraport Pro accounts and above). All links in the email will have the same utm_campaign, utm_source, utm_medium, utm_content and utm_term added to each link. If you’d like to manually edit these links, keep the box unchecked. Adding tracked links to your email does not interfere with the automatic email tracking used for triggering automation, goals, conditions or global rules.
Plain Text Email
.png)
Copy from HTML: We recommend that each time you update your email content in any way, you click the “Copy from HTML” button to create a text-only version of the email. Ontraport sends this version along with your HTML email so that your recipients who have HTML turned off will receive the plain text version of your email. Making sure that your message always has an up-to-date plain text version stored will help tremendously in your messages reaching the inbox.
Spam Score
.png)
Spam score: The spam score is provided by the open-source and third party application SpamAssassin. SpamAssassin works as an email spam filter using sophisticated detection techniques to scan your emails before they go out. The score goes up if your emails are questionable or seem spammy. The spam score for your email, if available, will be listed as a number and may state “this email looks good” to the right of that number.
Emails with a spam score of 5.0 or greater cannot be saved or sent. Click Spam Score to find out why your message was given a specific spam score and see how you can lower it.
Add a New “From” Email Address
When your contacts first view your emails in their inbox, your email “from” name and address let them know who sent the message, so it’s recommended that you set up an address that your recipients will recognize. The first send “from” address in your account will be the email you used to sign up for your account; however, you can add new addresses at any time.
Note: To protect your email delivery, you cannot add a free email address. If you do enter a free email address, Ontraport will automatically convert it to use an acceptable domain.
For example, if you added the email address “your.name@gmail.com,” your “from” address would be converted to “your.name.gmail.com@opmail.com.”
- Click
.png) →
→ .png) → Email → Email ‘From’ Address Setup.
→ Email → Email ‘From’ Address Setup. - Click
.png) .
. - Add an email address and click to confirm.
- Check the inbox of the email you added for your confirmation email, and click
.png) .
. - If you have more than one “Email From” address, be sure to set the correct email as your default.
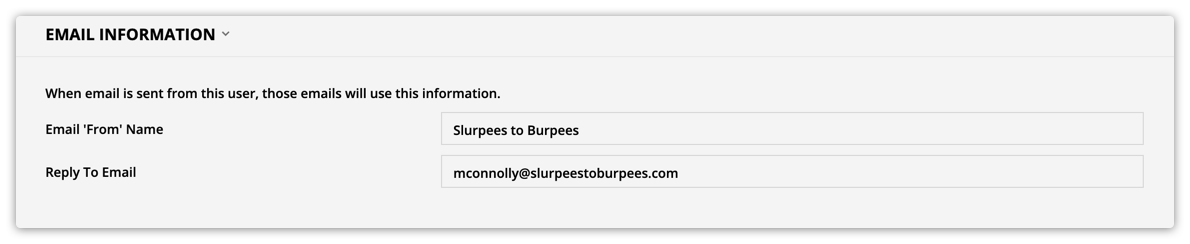
Add “From” Name and “Reply to” Email Address
- Click → Manage Users → and select the name of your user.
- Add the email “from” name and click
 .
. - In the same section, add your “reply to” email and click .