Merge fields provide an efficient way to personalize your pages and emails. They act as placeholders that Ontraport populates with data from your records. For example, if you add the merge field [First Name] to an email, every recipient will see their name.
In this article, you’ll learn how to insert and format your merge fields when you add them to your assets. This makes it easy to customize your content to your brand and message.
You also have more formatting options available with merge field modifiers. Check out this article to learn more.
Table of contents
Populating merge fields
Add merge fields to assets
• In app merge field formatting
Set up default merge fields
Special merge fields
Populating merge fields
For your merge fields to display and pull values from visitors’ contact records, your page needs to be able to identify who is visiting.
There are a few ways Ontraport can tell your pages who is visiting:
Cookied data
If a visitor’s browser is cookied, your page can pull in the correct value to replace your merge field.
Contacts are cookied when they:
- Click an email link
- Fill out a form
- Log in to a membership site
- Click a tracked link
Membership sites
When a visitor logs in to your membership site, the site knows exactly who is visiting your pages.
Personalized URLs (PURLs)
PURLs pass your contacts’ information through the URL. PURLs only work on HTTP pages and not HTTPS. This type of personalization is best for thank you pages that don’t contain sensitive information.
Add merge fields to assets
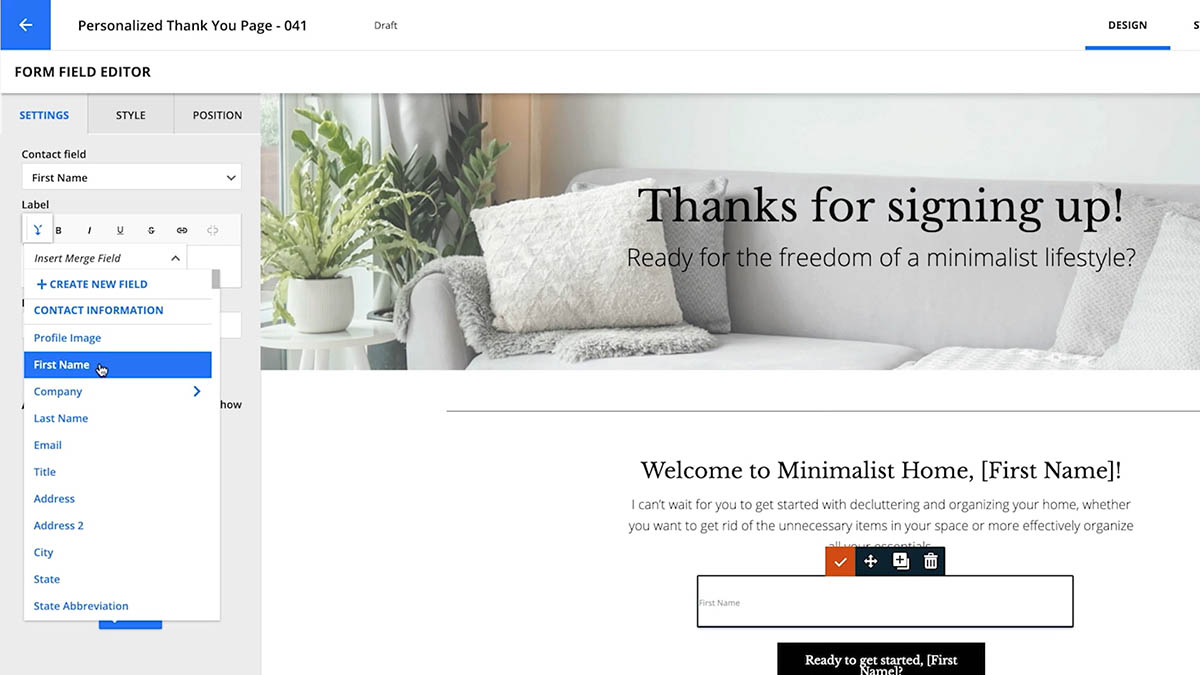
When you’re editing text elements on Ontraport Pages or messages, you’ll find merge fields in the dropdown menu
.png) .
.
For the most part, merge fields appear as the name of the field you’re merging surrounded by brackets. For example, when you select the First Name field, it’ll appear in your content as [First Name].
In app merge field formatting
Using the merge field dropdown, you can choose how to format your data when you add Date or Date and Time fields.
You can also manually add merge field modifiers to other types of fields. Check out this article to learn more.
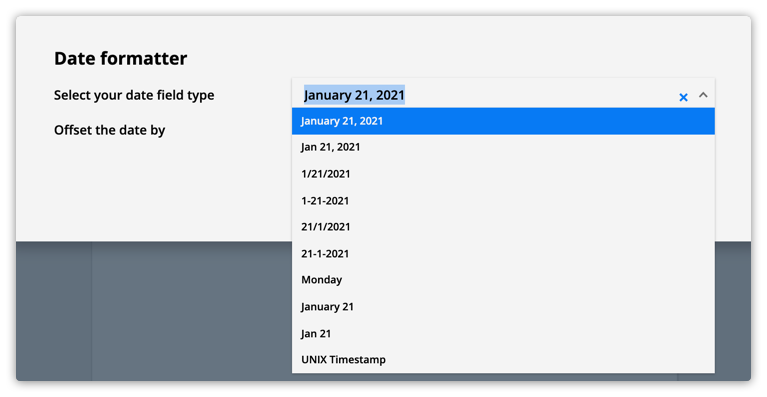
Date merge fields
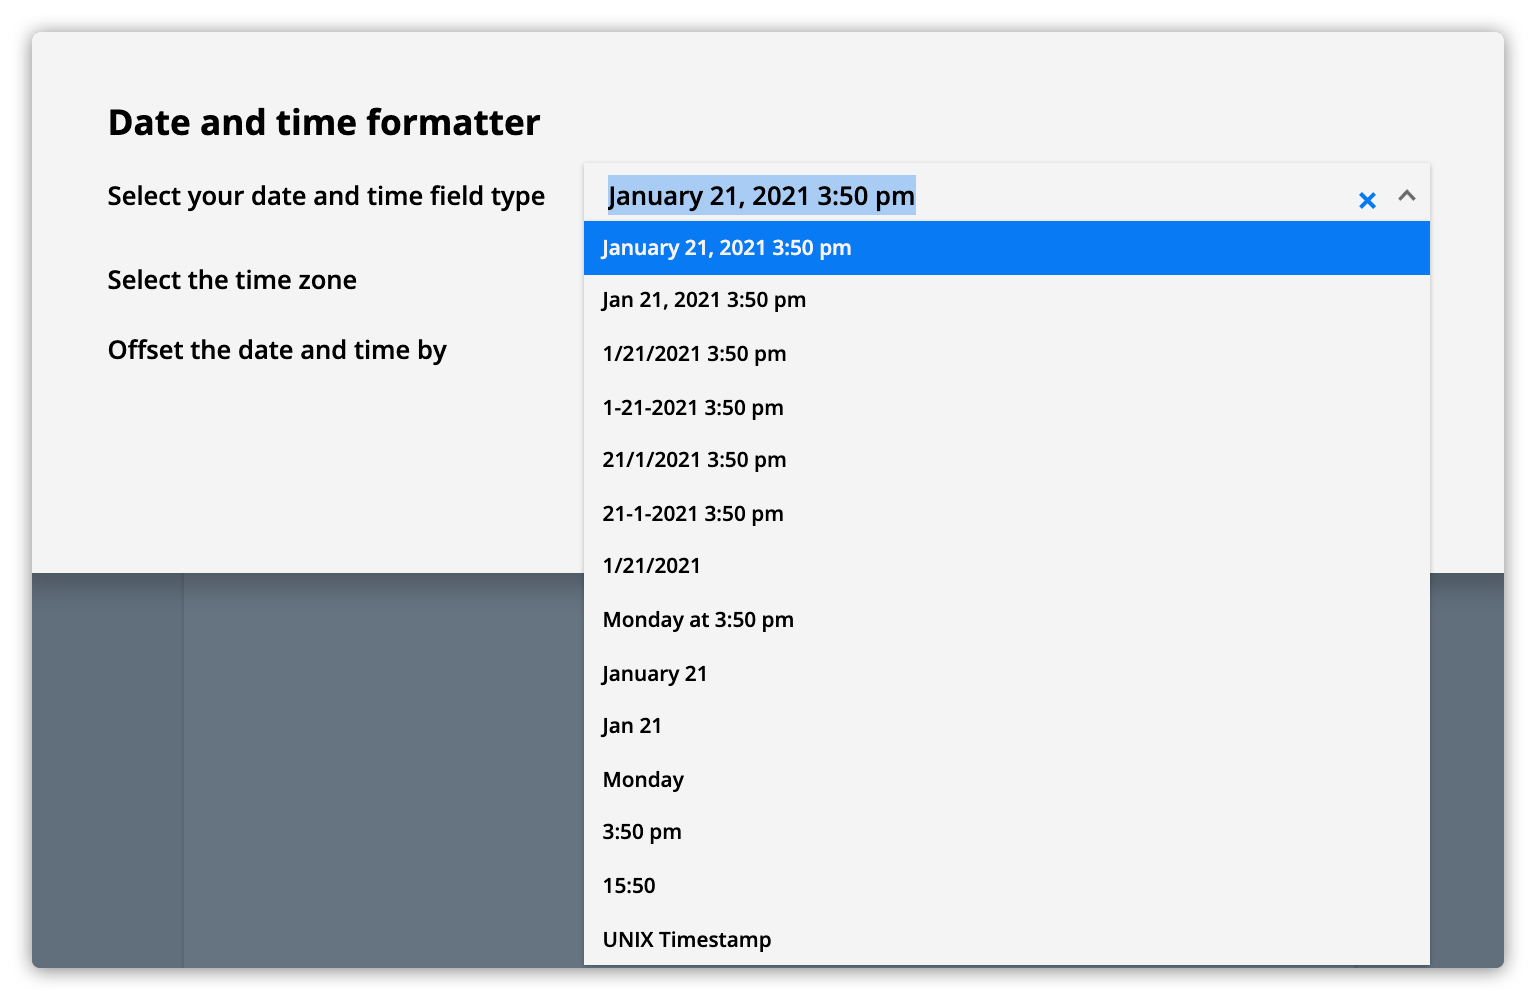
Date fields can be formatted in 11 different styles. When you add date merge fields, you can use the pop up date formatter to choose how you would like the date to display.
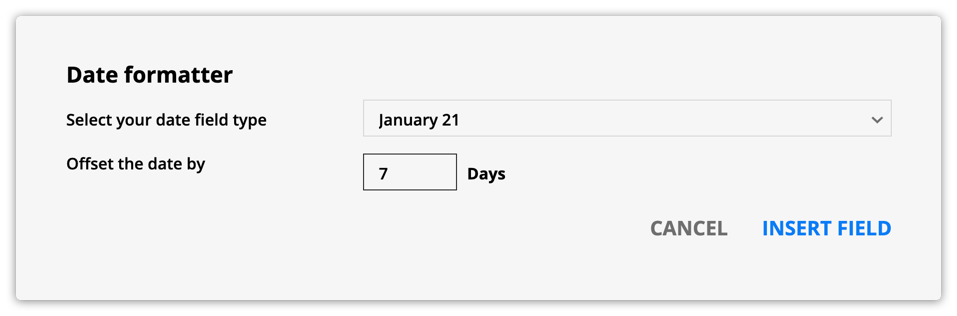
Date merge fields allow you to do “date math” by adding or subtracting days from your saved value. You can do this any time you add a date merge field from the “Offset the date by” field on your date formatter popup.
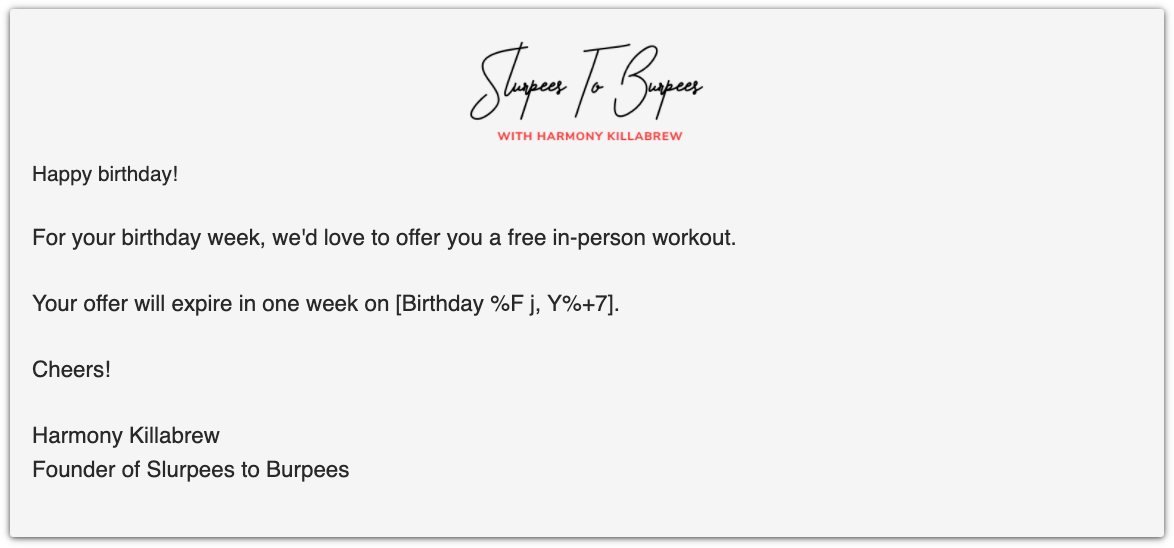
For example, you can send your contacts a happy birthday email that gives them a special offer good for the entire week of their birthday. To do this, you’ll offset (add days to) your contacts’ saved birth date by a week to tell them when their special offer expires.
It will look like this:
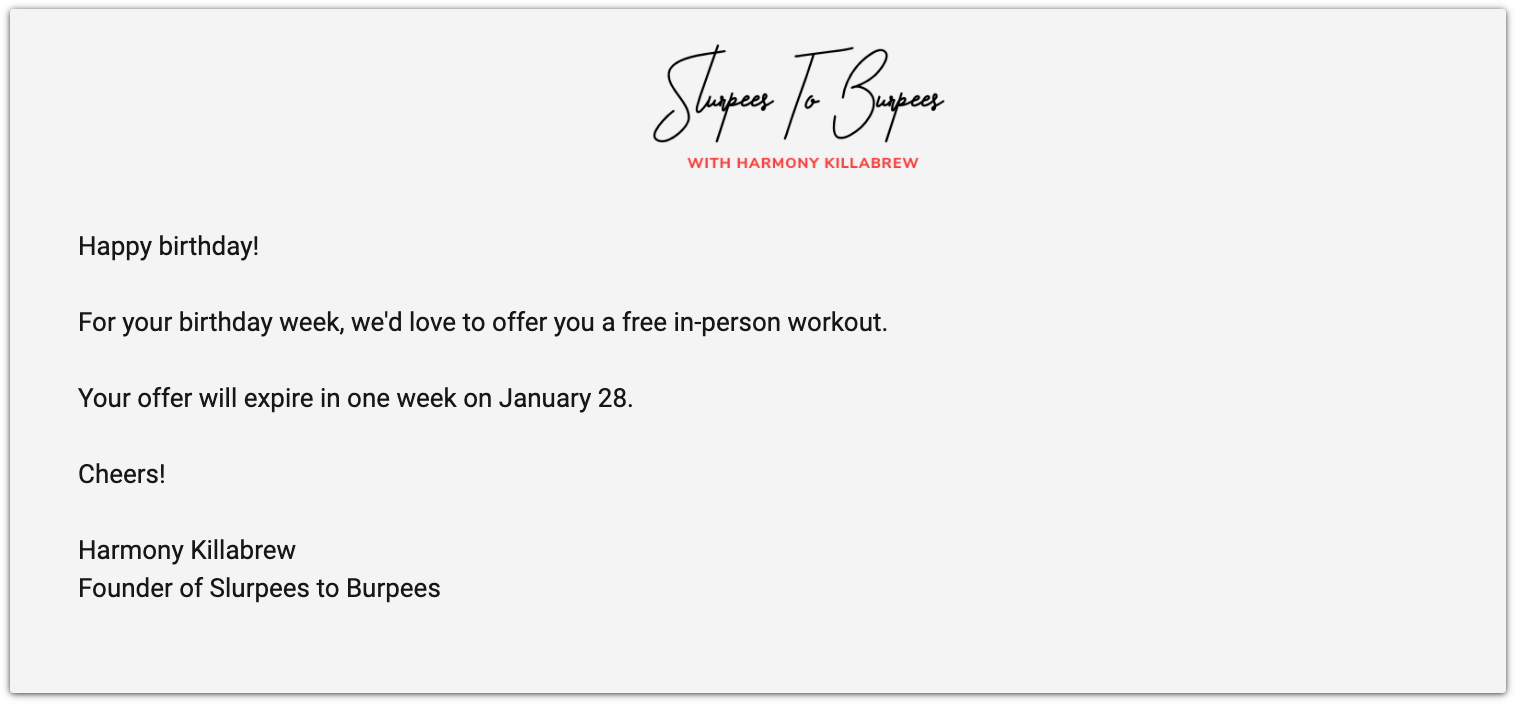
A contact whose saved birthdate is January 21 will get a message that looks like this:
Date and Time merge fields
Date and Time fields have 14 different styles that you can choose from when you insert merge fields.
Like Date fields, you can offset your date and time by adding or subtracting days, hours and/or minutes. Just add a negative number (-20) to subtract time and a positive number (20) to add it.
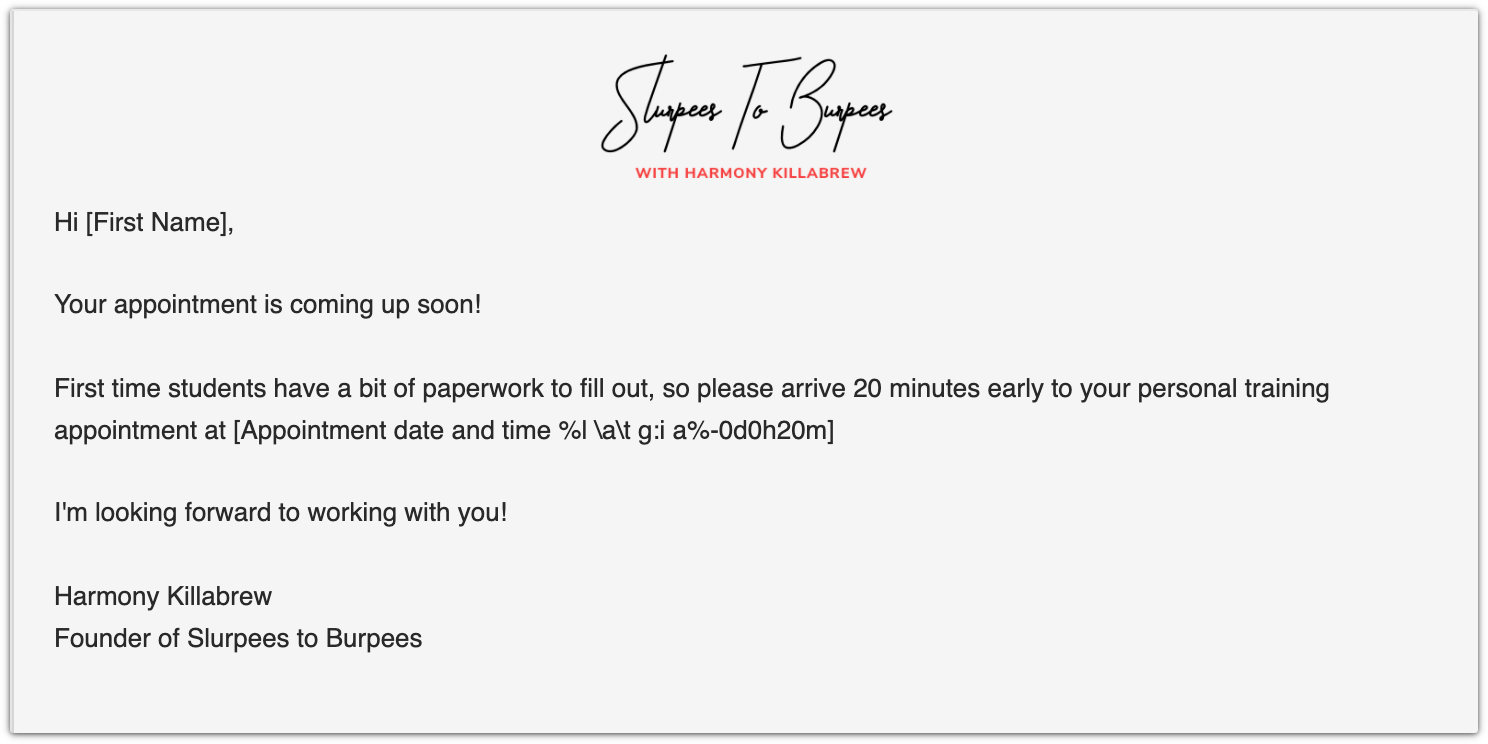
For example, you can offset your time by 20 minutes if you want to touch base with your contact before their appointment time.
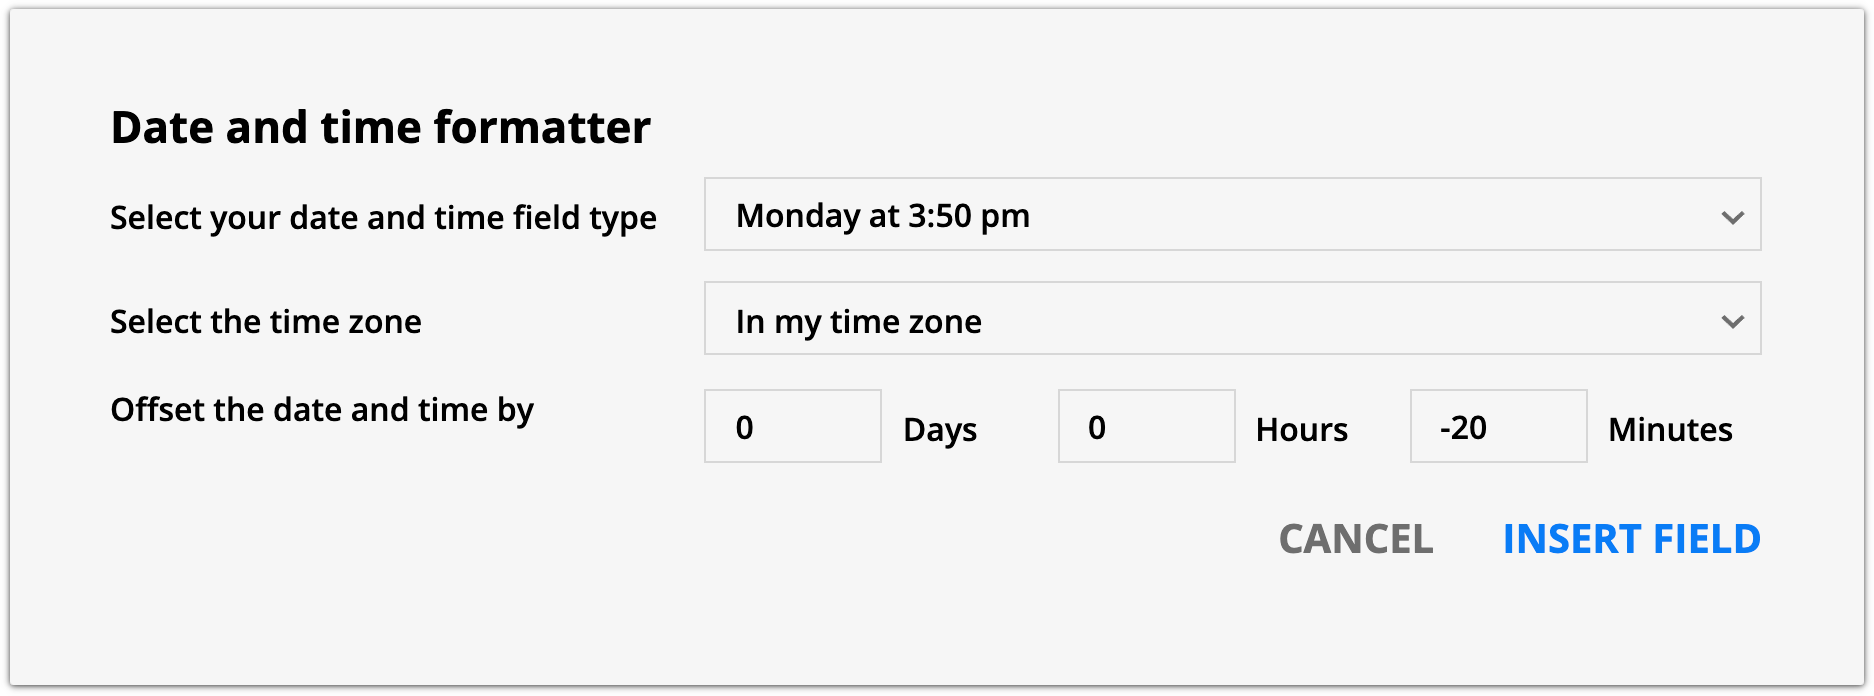
It will look like this:
For a contact who has an appointment on Wednesday at 10:30 A.M., their email will look like this:
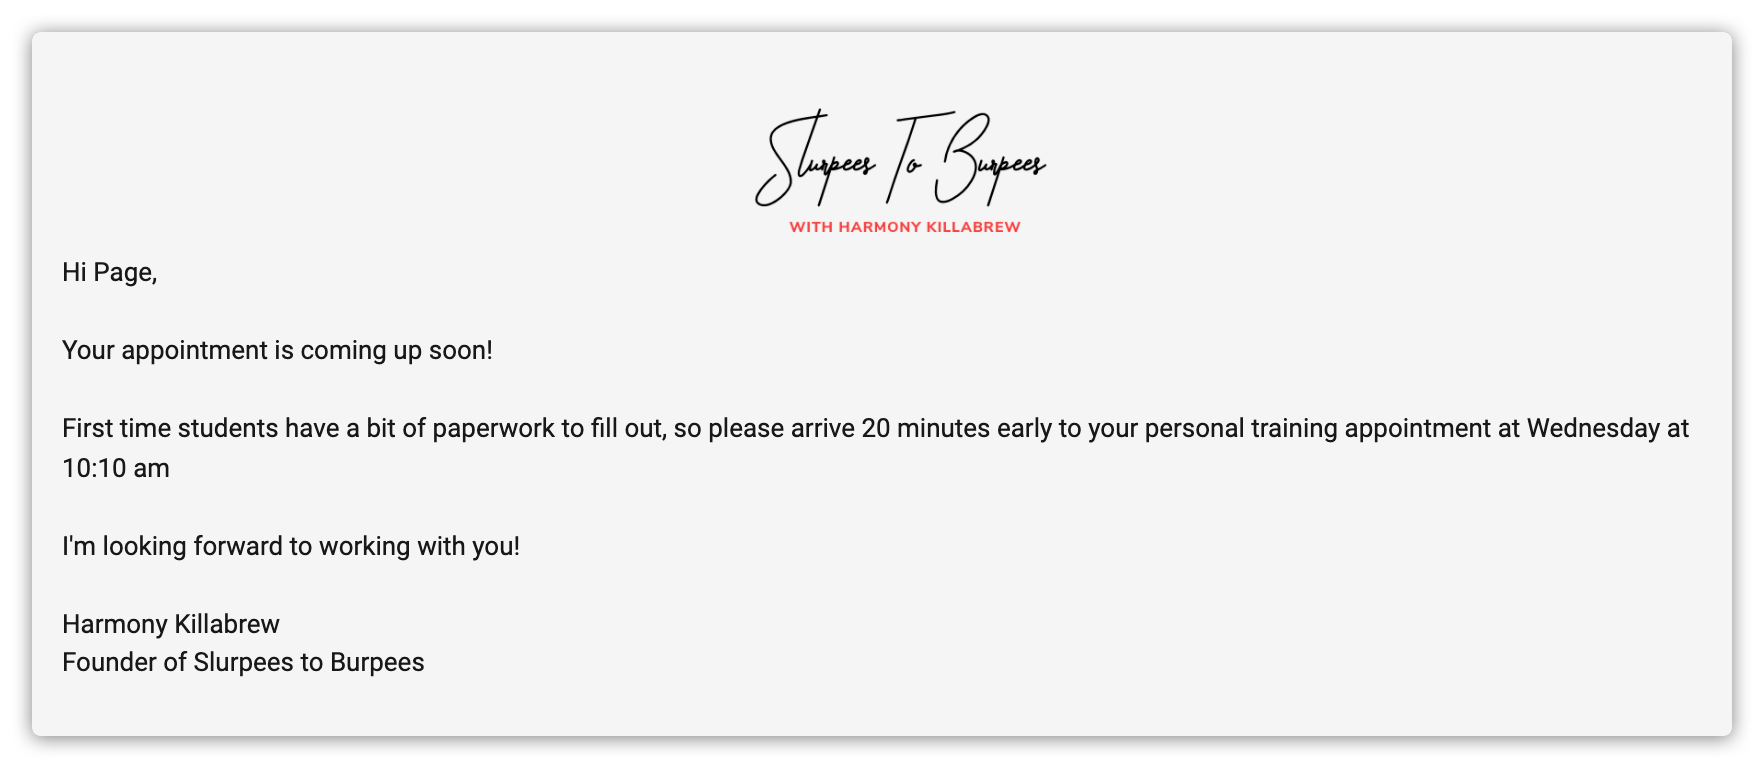
Image merge fields
If you are an advanced user, you may want to dynamically access your image’s hosted link instead of the image itself. This is helpful when you want to add images in custom HTML page elements, pages’ custom code, source code and webhook post data inputs.
<img src="profile_image.jpg" alt="profile image" width="500" height="600">
But you can replace the image link in an HTML image tag with a formatted merge field. This will allow the image to change dynamically.
Here’s how:
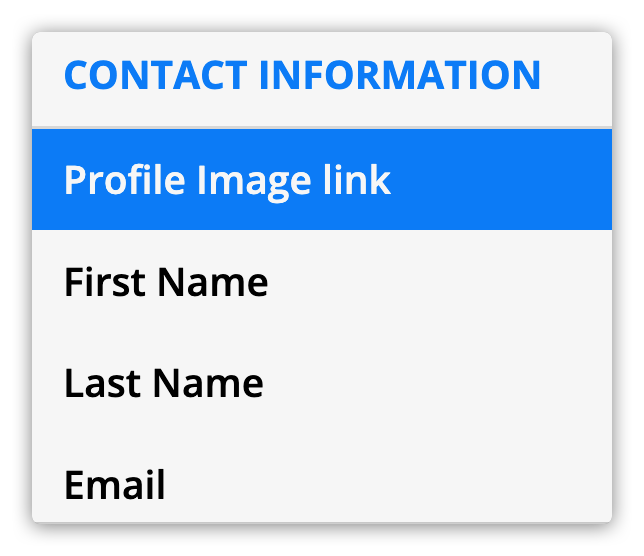
- Use the button to insert a merge field for your image’s link.
- Note, you will only see the image link merge fields in the following locations:
- Custom HTML page elements
- Page custom code
- Source code (for rich text fields or HTML emails)
- Webhooks
This is really helpful if you want to get fancy with custom code. For example, this code will show different images based on the size of your visitor’s browser.
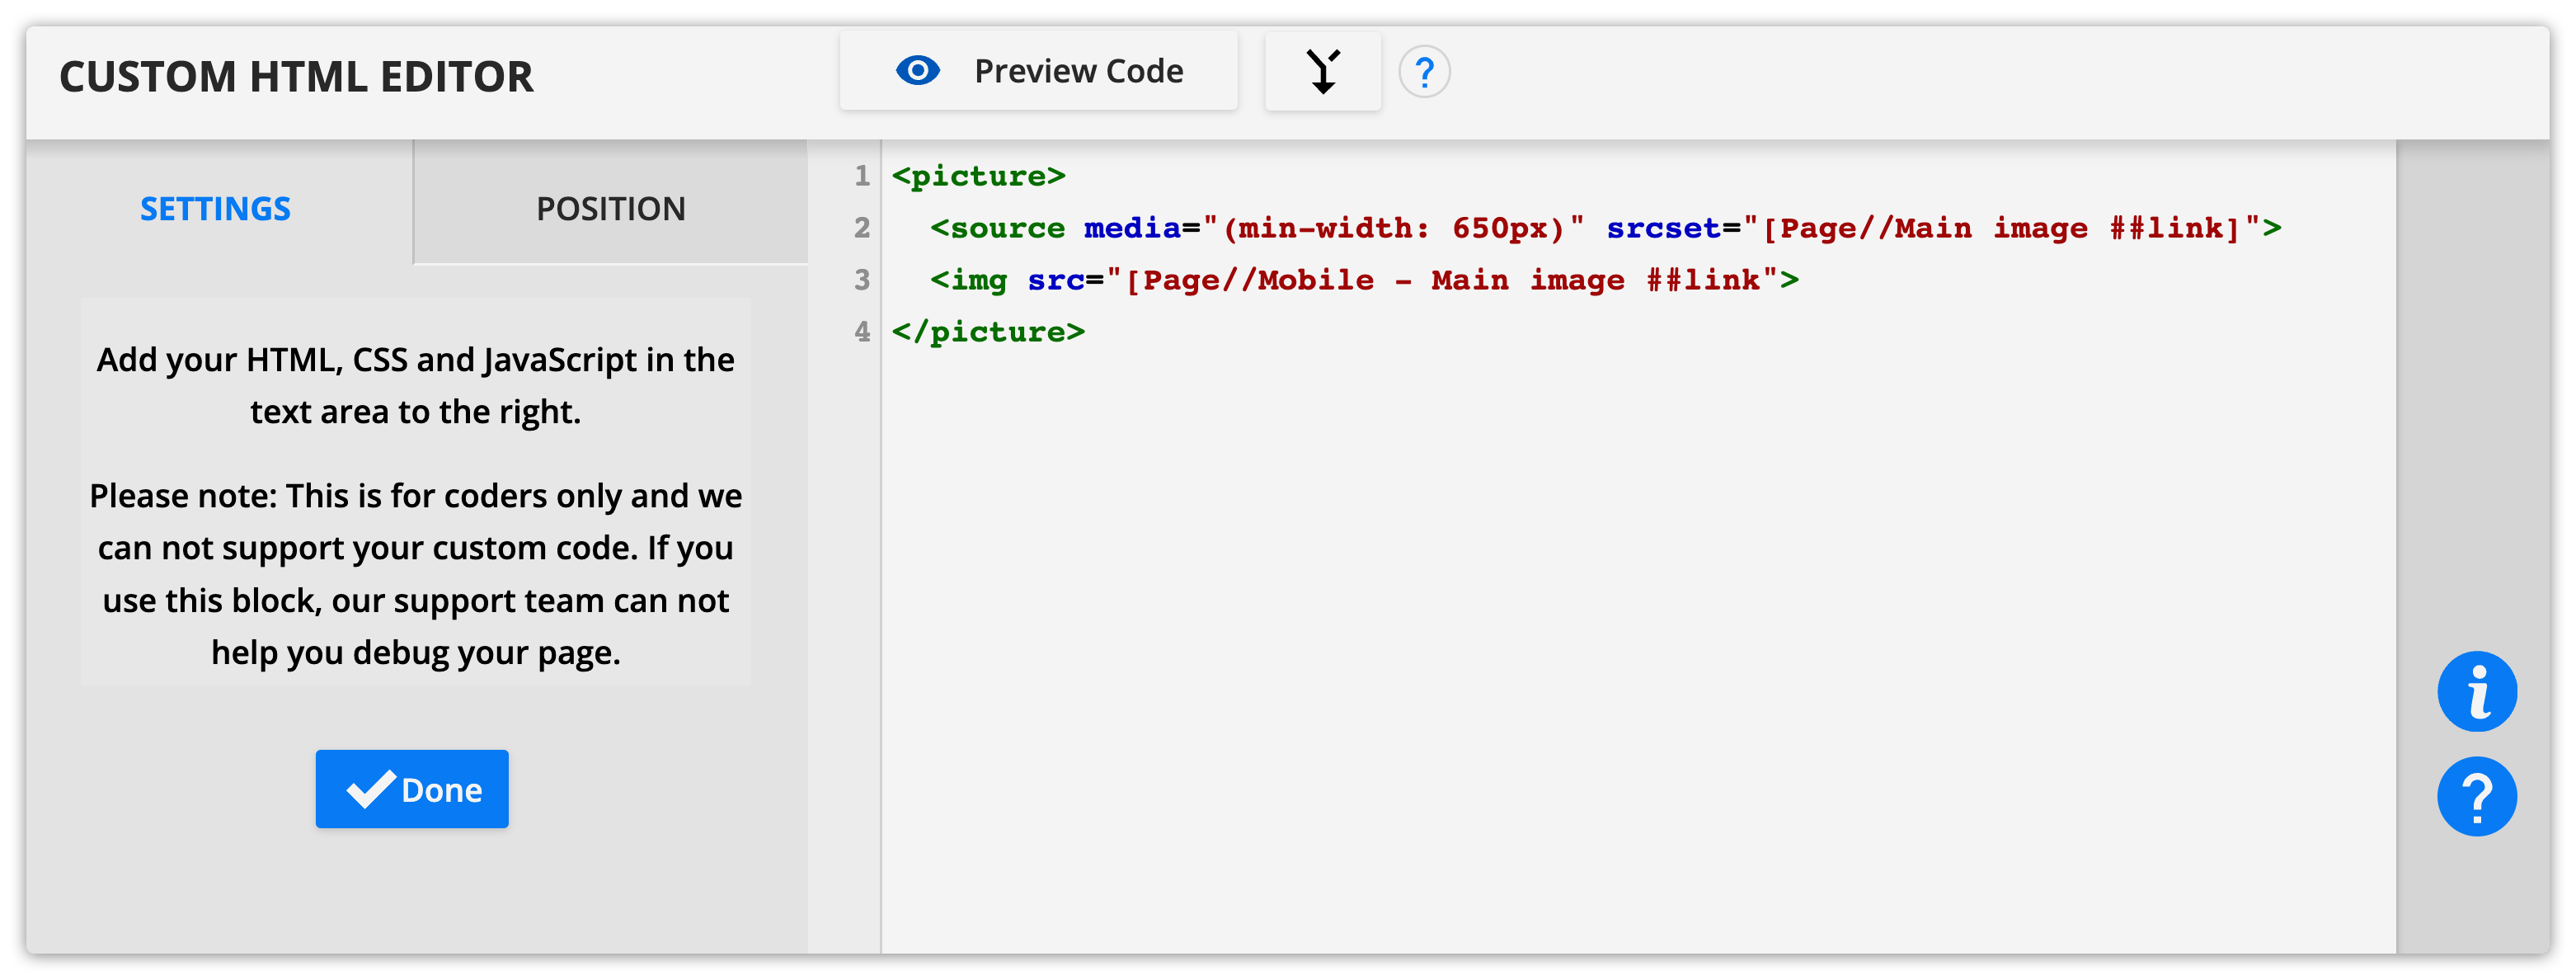
This will allow your visitors on desktop to see a portrait photo:

And your mobile visitors will see a square photo:

Set up default merge fields
You can use default merge fields to ensure you don’t display blanks on your pages and emails. This helps with contacts whose records have values that are missing.
If you add a merge field to an email and your contact doesn’t have a value saved for that field, your email will still make sense with filler content from default merge fields.
For example, say you have an email that says, “Hi, [First Name]!”
If your contact doesn’t have a first name saved, and you do not have a default merge field, your email will start, “Hi, !”
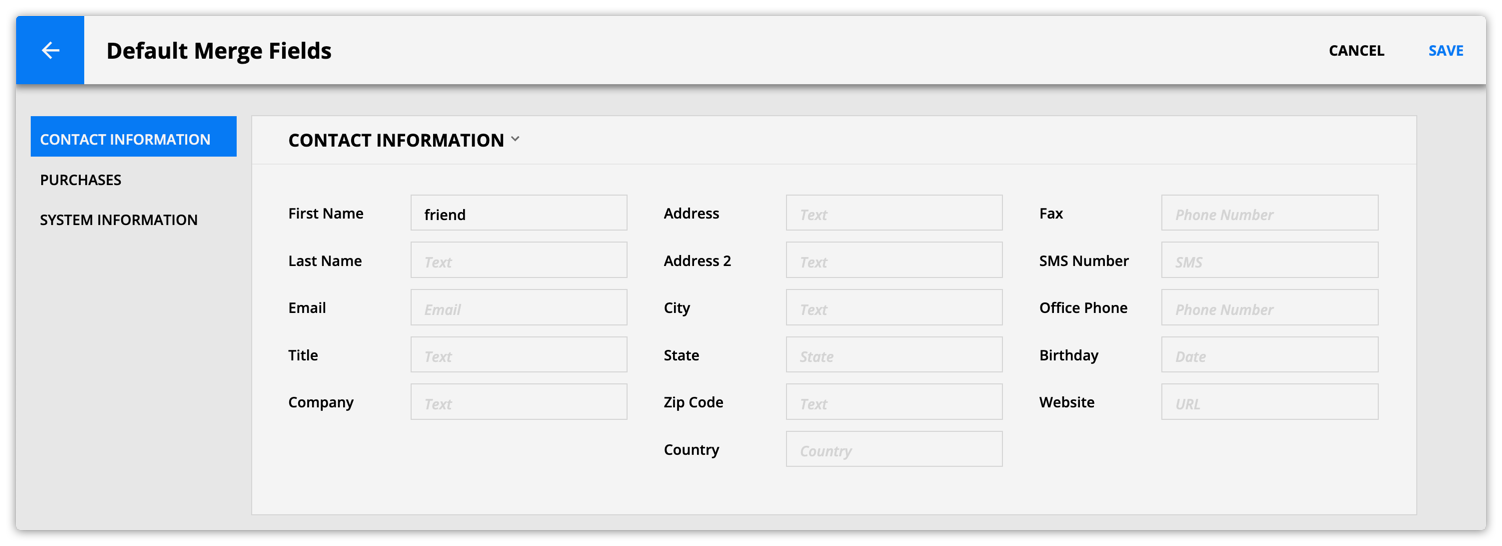
But with default merge fields, you can choose a word or phrase to fill in the blank when your contact doesn’t have a value saved.
You could add “friend” as your default merge field for the first name field, and it will read, “Hi, friend!”
Here’s how to set up your default merge fields:
- Go to
 → Settings → Default merge fields.
 - Type a default value into the fields of your choice.
- Click
.png)
Special merge fields
There are also special merge fields that do more than allow you to personalize your messages and pages with your contacts’ saved info. These special merge fields add additional functionality, such as adding a hosted email link or generating a personal coupon code.
Rollup fields
Rollup fields perform calculations based on field values or records in subcollections. For example, you can display totals, sum data or calculate averages. You can insert them just like any other merge field. However, these merge fields are unique because the number is always up to date because this field type calculates the field’s value behind the scenes.
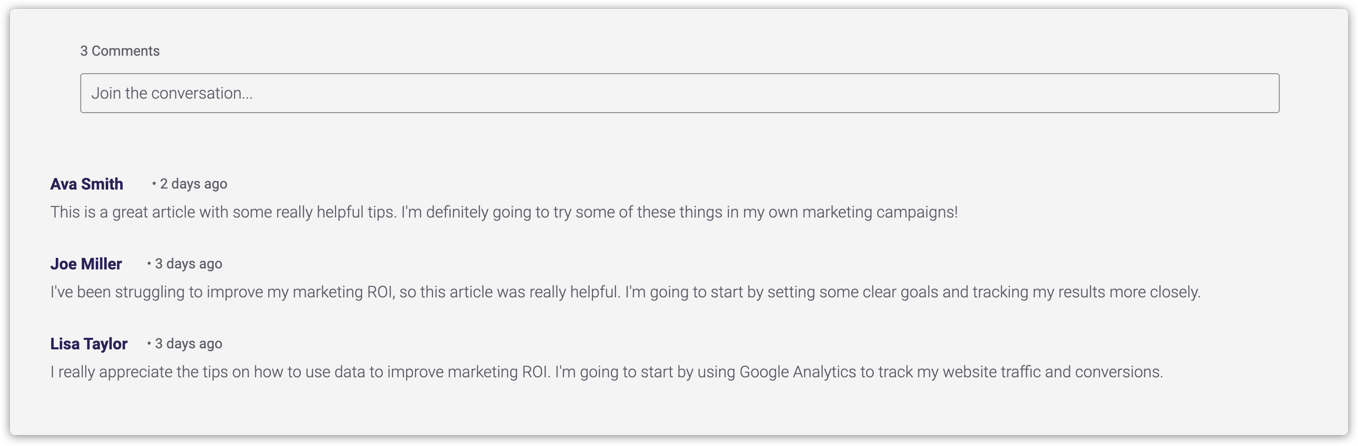
Add a count rollup merge field to show the number of comments on a blog post.
Or keep your students on track by showing them the number of lessons completed and how many they have left.

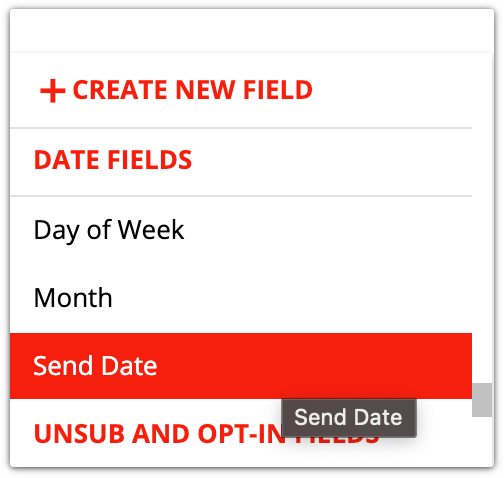
Send Date
This merge field will show the send date of your email. You can offset that date to easily communicate about upcoming dates. For example, if you want to say an offer is valid for two days, you can add the send date merge field and offset it by two days.
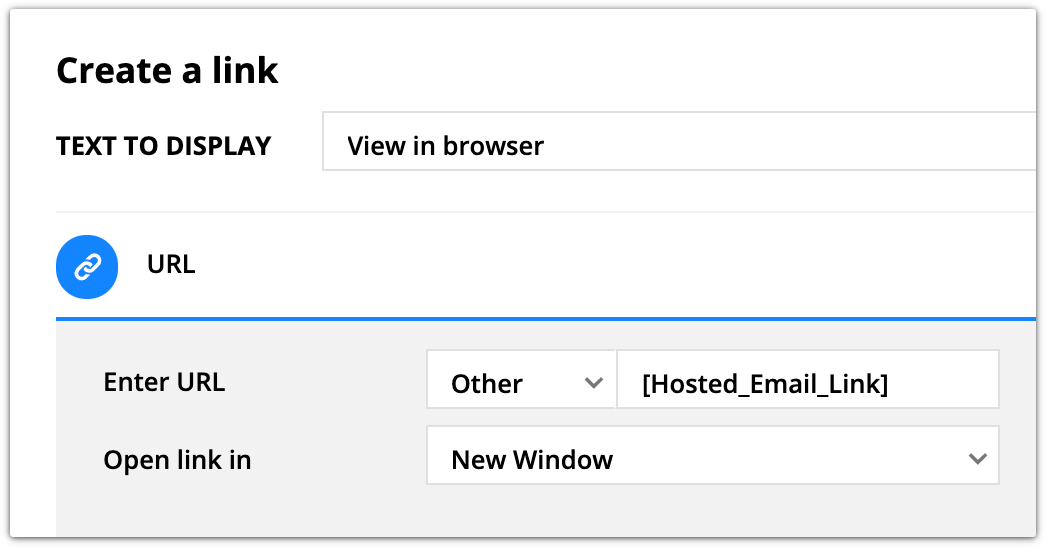
Hosted Email Link
This merge field lets you create a “View in browser” link. This gives your contacts an alternate way to view your email if they can’t view HTML emails or if image loading is turned off in their inbox. Paste the [Hosted_Email_Link] merge field into the URL field when creating a hyperlink.
Coupon Codes
You can send both personal and group coupon codes to your contacts by using merge fields. You will find the coupons in the merge field dropdown in the section for “Coupon: Your Coupon’s Name.” You can add the coupon code, the date it was created, and the date the coupon expires.

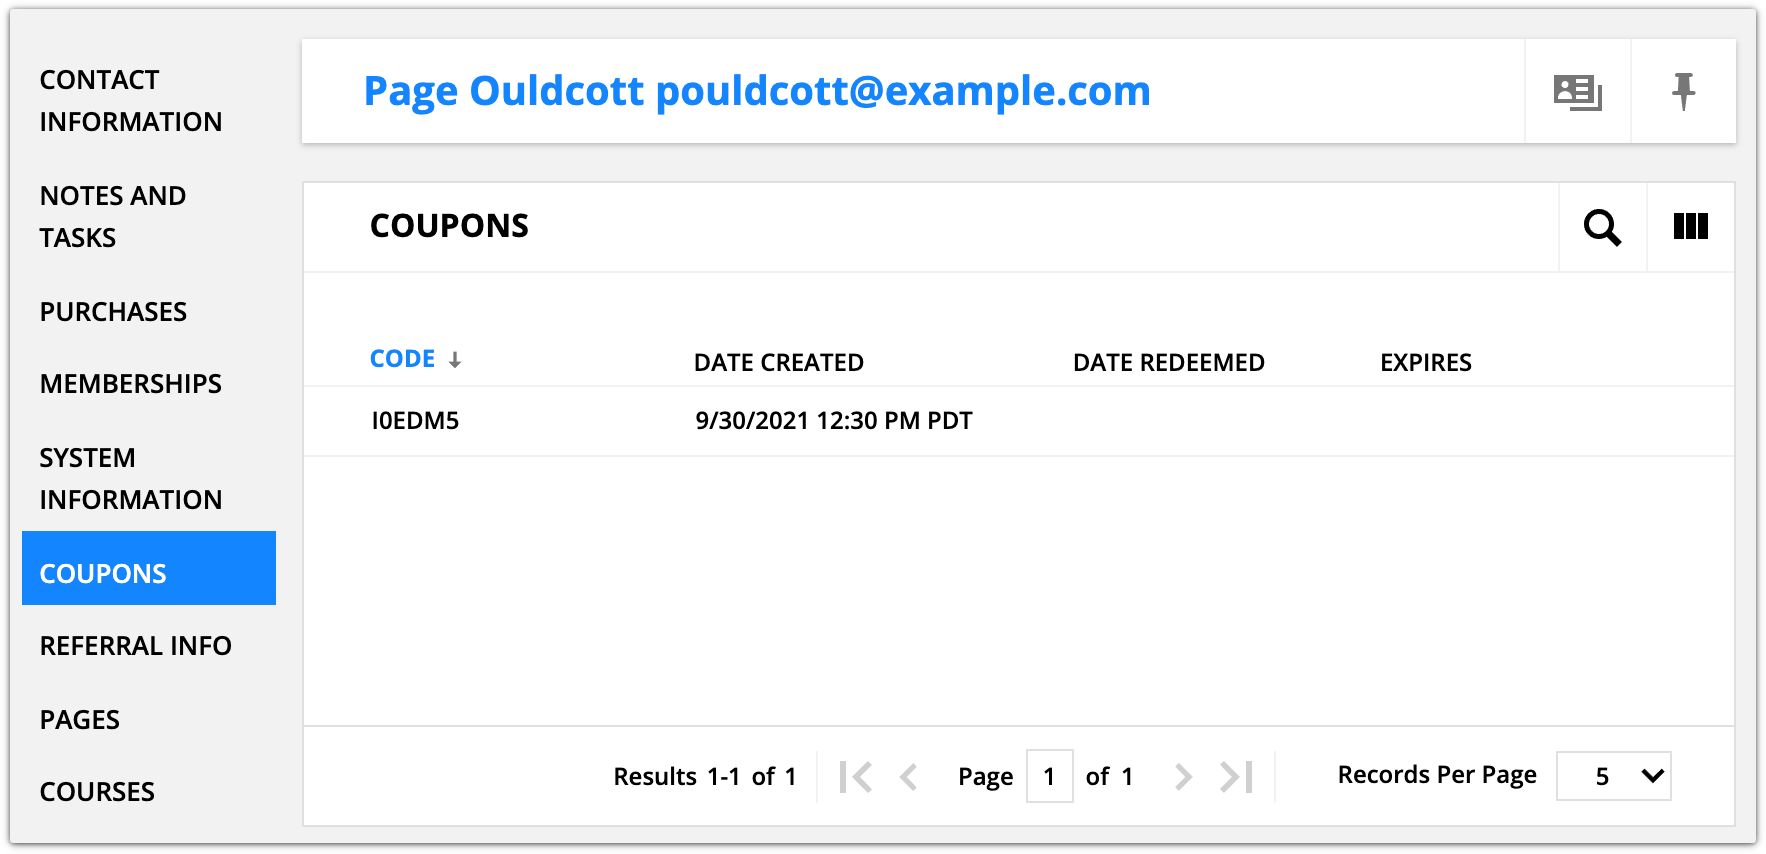
When a personal coupon code is sent to a contact, you can see it in the “coupons” tab of the contact’s record.
Note, personal coupon codes become active the day you send them to your contacts. A personal coupon code that is set to expire two days after it’s generated will expire exactly 48 hours after you send the email that delivers it.
PURLs
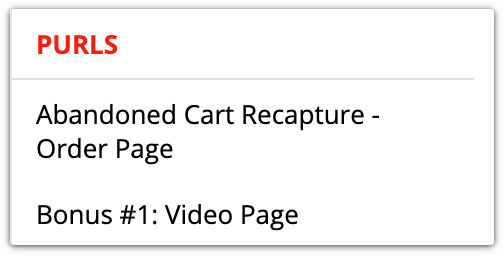
You can insert personalized URLs (PURLs) to Ontraport hosted pages.
Staff Fields
You can include information about the user who “owns” your contact’s record too. When you click the > next to the “Owner” option, you can add information from your user’s profile.

These merge fields are really useful for sales teams. For example, you can give your contacts the name, email and phone number of the specific sales rep they work with, in case they want to follow up with any questions.
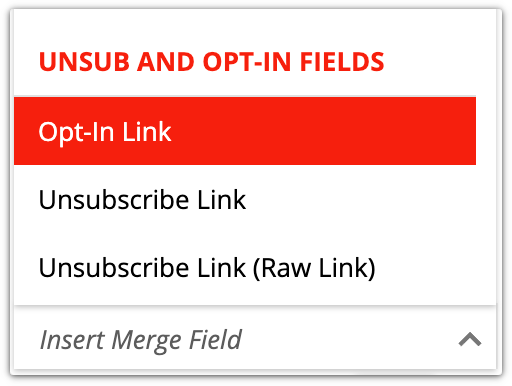
Opt-in Links
This adds a hyperlink that says “Confirm your Subscription.” If a single opted-in contact clicks this link, it will update their status to double opt-in. You can use this merge field to create your own double opt-in email.
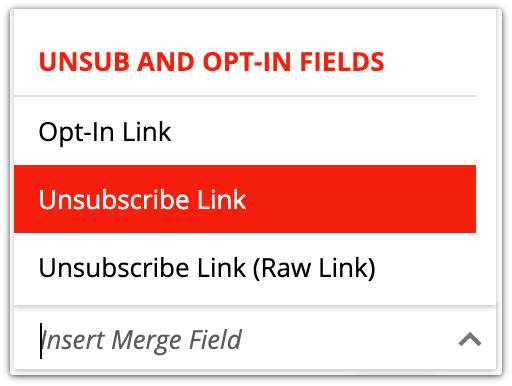
Unsubscribe Link
The unsubscribe link merge field adds an unsubscribe link to an email that you send to a single contact. Your link will appear wherever you add the merge field and say, “Click Here to Unsubscribe.”
It isn’t necessary to add this to most emails because whenever you’re sending bulk email it’s added automatically. Your account adds an unsubscribe link when you send your email through:
- Automation
- Manual broadcasts to two or more contacts
Some users prefer to add an unsubscribe link to the top of their messages to make it easy for their contacts to find the link. If they can find it easily, it makes people less likely to get frustrated and hit the “Report Spam” button.
This merge field is also useful if you’re sending a one-off email, and you want that contact to be able to unsubscribe. It may seem counterintuitive to add an unsubscribe link you’re not required to add, but it creates a great user experience. When you allow your contacts to unsubscribe from any message, it assures them that it’s easy to leave if they want. And giving your contacts a way to do what they want helps build confidence in your business.
Unsubscribe Link
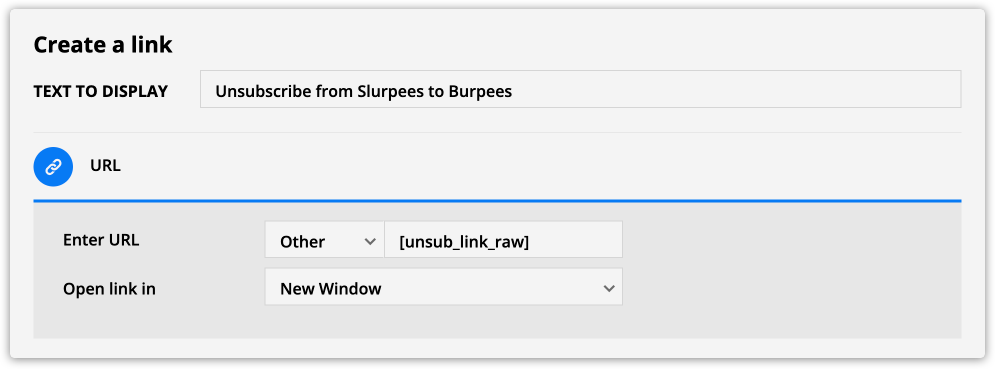
If you want to customize what your unsubscribe link on an email to one contact looks like, use this merge field. This provides a long, raw unsubscribe link. This option lets you select the text you would like on your unsubscribe link.
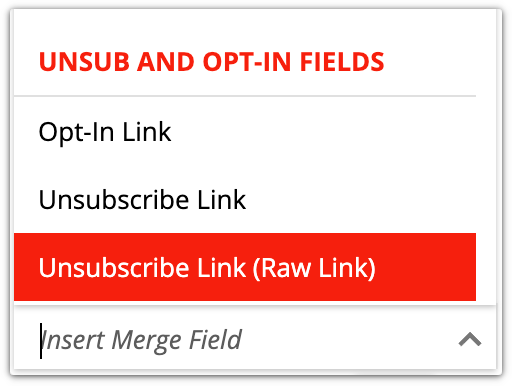
Paste the [unsub_link_raw] merge field into the URL field when creating a hyperlink and select the “other” protocol.
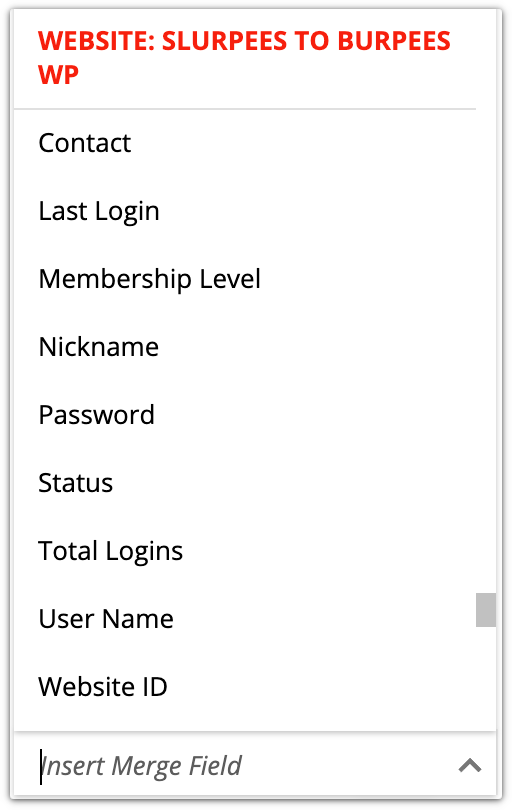
Website membership details
Send out WordPress membership details like password, username, status, etc. These are commonly used to send out WordPress credentials to your contacts.